Wednesday, January 23, 2013

Salve; home made; using infused olive oils, fresh and dried herbs and pumpkin oil

I met Prunella, also known as Self-Heal and All-Heal, etc.,  several years ago. I went on a hike with an herbalist and met Prunella then. When I went home, I found it everywhere and within that year it flourished un-abound! I was in heaven and dried, sun tead, and tinctured to my heart's content. Since then it's become my ally.
      So, today I took some of my dried Prunella and used double infused olive oil.
   I had two different infused oils.
            One was infused lightly with Cayenne.
           The other, with lavender. The lavender was exquisite! I anguished using the last of it!
  I combined the two oils and added a bit of my
                       Potted Papfamiliarius Violet Leafs,
                       Prunella,
                      Calendula,
                      Kelp and
                      Fresh Ginger.
  I super saturated the herbs, i.e. I used more herb than oil.
  I, then, quick infused it.
  Meanwhile, I grated about an ounce of Bees Wax.
  I strained the oil from the herbs(I save this to use as incense and fire starter).
  At this point I make sure my jars (3-3oz. jars) are ready. (Clean and dry)
  Heat the oil at Medium Low.
  Add the grated Bees Wax to the oil.
     It only takes a few moments for the Bees Wax to melt and it's ready to pour.
     I poured off the oil into my clean, dry jars. Then I added to only one of the jars a bit of 
               Pumkin Seed oil(about 2 Tablespoons).
~~~SO, I HAVE TWO KINDS OF SALVE. YEAH ME! ~~~
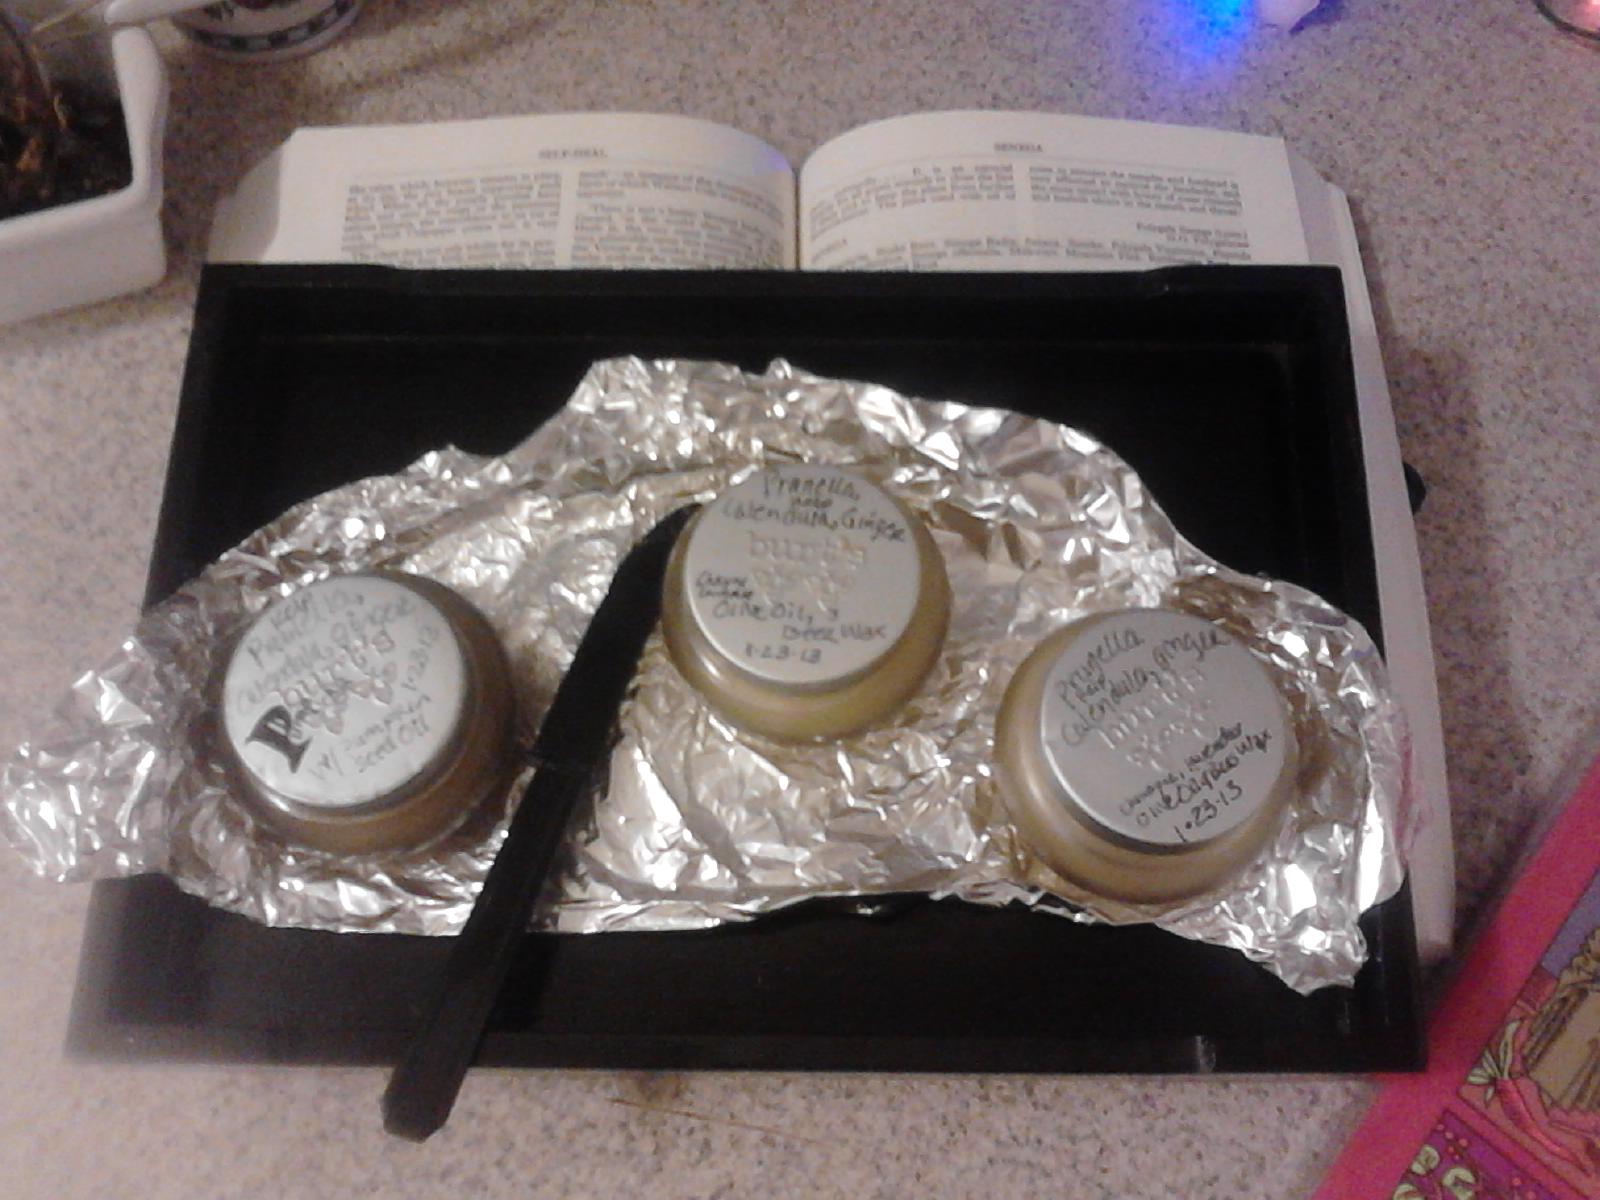
Prunella, Calendula, Ginger, and Kelp double infused with ceyenne and lavender olive oil SALVE. Copywrite Allisonians 1.23.13
 
 Culpepper;   , explaining the name 'Self-Heal whereby when you are hurt, you may heal yourself,'  A Mondern Herbal, Mrs. M. Grieve, Dover Publications, Inc., NY, 1931, 1981

©Allisonians Please ask me for permission to use my photos and/or writings, thank you!

1 comment:

  1. Yea you indeed! I am interested in the addition of kelp. Tell me more please!! xxx

    ReplyDelete

Banana This; Recycle Old Peels~ fertilizer or silver polish

There are things you can do with that old peel.

1. Do you have a green thumb? House hold plants and outside gardens require fertilization. A great way to give your plants nutrients is with a banana peel. The banana peel is very rich in potassium and phosphorus, which give that added boost to your plants soil, especially so with roses. Here is how to use a banana peel to fertilizer your soil for your plants. Remove the peel from the banana. Place the banana peel on a cookie sheet to let it air dry. Grab a paper bag or envelope. Crumble the dried banana peel and place it in the bag. Let the banana sit at room temperature for about two days. When your caring for your plant, give it a potassium treat of crumbled banana peel. Mix well in the soil to ensure the roots are fed evenly.
2. Have you been thinking about pulling out that old silver? Well there is no time like the present. Bananas peel can also be used to polish silver. Yes, polish silver. Take the old peels and place them in a blender. You want the peels to become smooth and creamy. Once they have, grab a cloth and small amounts of the creamed banana peel and begin polishing your silver. The shine will be breath taking.

SOURDOUGH STARTER with WILD YEAST

SOURDOUGH STARTER with WILD YEAST
Wild yeasts exist in the air around you and to some extent on the wheat berries. There are wild yeasts on grapes (unsulphured) and apples and other fruits. It is those wild yeasts which are 'captured' to make a sourdough starter. The process takes from 3 to 5 days. I wish I had specific amounts for you, but you could start with 1/4 to 1/2 cup of flour and mix in enough warm (not hot) water to make a thin paste. DO NOT make it too soupy. That, in fact, is the trick to a good starter, according to the French bread makers, and I think they should know. And after you've fooled around with the flour and water thing, you might wish to branch out into adding those unsulphured grapes, apples, sour milk, etc as a catalyst in order to capture other strains of yeast. Each of these strains has a slightly different taste. In fact if you move to another area, you might end up with a starter that produces an entirely different flavor. For instance, San Francisco sourdough bread is well known and has a distinct taste due to the wild strains in the air there. On day one you mix the flour and water (and add any catalysts to encourage fermentation) and place in a warm spot. After 3 days, the dough should be moist, inflated, and slightly sour. More flour and water is added (mixed in) and left to sit in a warm spot. After 2 days the process is repeated. Then the next day it is done again. Note the order: 3 days, 2 days, 1 day. At this point you should be able to make a loaf of bread using part of the starter and adding back what you took out in the form of more flour and water. Rule of thumb: Use about 10% starter to size of loaf. In the case of a 2 lb loaf this is a bit over 3 oz of starter (3.2 to be exact). For a 1 lb loaf 1.5 oz would be used. A book that describes this process in great detail is The Village Baker by Joe Ortiz, copyright 1993, published by Ten Speed Press, Berkley CA. If it's not still in print, try the used books stores, that's where I got mine. Or try your local library. If they don't have it, they might be able to get it for you. ©2008 by Ernestina Parziale

Thank You For Visiting!

Thank You For Visiting!
Have a Great Day!